Recipes
Classic American Smash Cheeseburger with Crispy Browned Edges
By mommy.me · 2026-11-07 · Source-researched recipe adaptation
Learn to make the perfect crispy-edged American smash burger at home with this reliable guide, focusing on flavor development, safety, and proper technique.
Jump to the full recipe ↓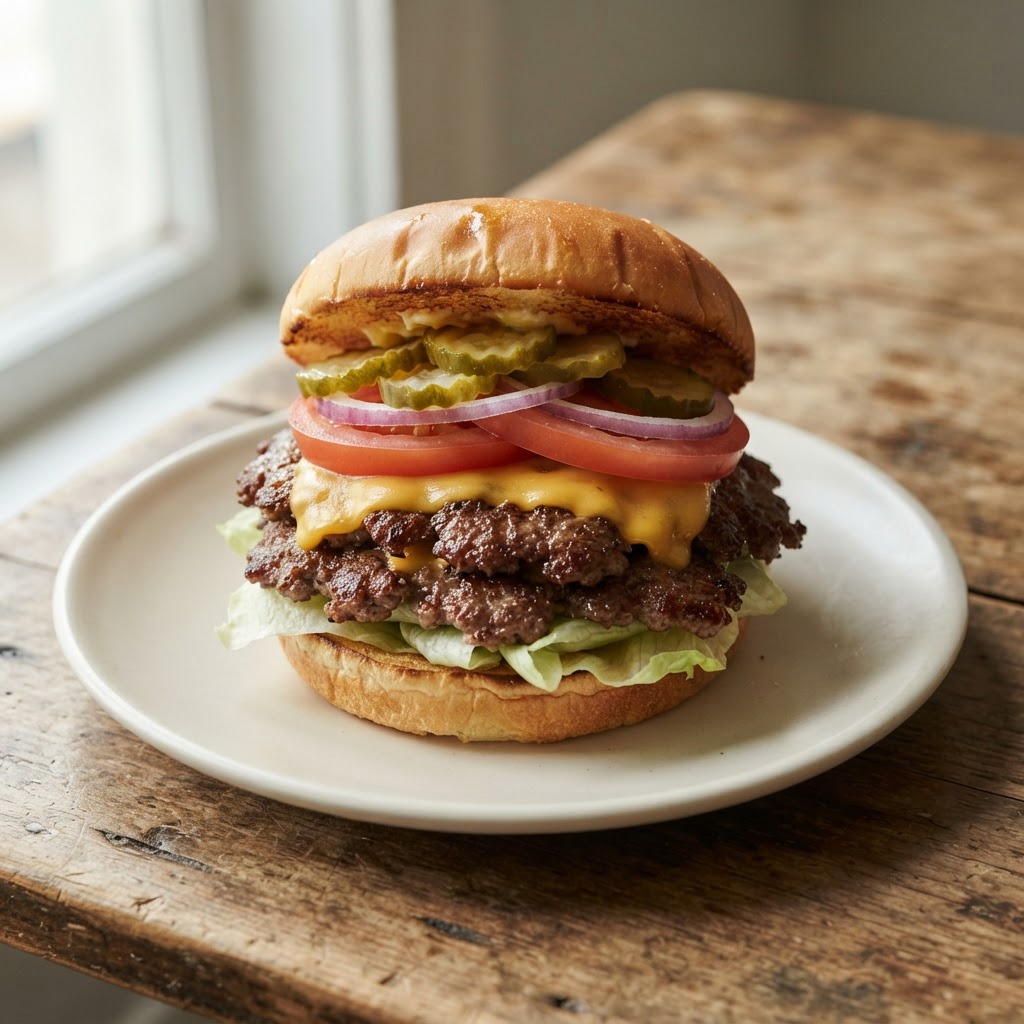
The smash burger relies on the Maillard reaction—the browning of meat against a hot surface—to create a flavorful, caramelized crust. By pressing loose portions of high-quality ground beef into a heavy skillet, we maximize surface area to create the quintessential diner-style texture. This version focuses on consistent, safe results for the home kitchen, ensuring every patty reaches a safe internal temperature.
The complete recipe
American · 4 servings
Prep: 15 min · Cooking: 15 min · Resting / marinating: 5 min · Estimated total: 35 min
Recipe background and adaptations
While popularized by various regional diner chains, the smash burger is a general American technique. This adaptation replaces the high-heat, high-speed methods often seen in commercial settings with temperature-controlled steps to ensure ground beef reaches a safe 160 F internal temperature, complying with home food safety standards while maintaining the trademark crust.
Equipment
- Heavy-duty cast iron or stainless steel skillet
- Stiff metal spatula
- Thin-tip digital meat thermometer
- Cutting board
- Chef knife
Ingredients
Meat
- 1.5 lbs Ground chuck (80/20 fat ratio)
Seasoning
- 1 tbsp Kosher salt
- 1 tsp Freshly ground black pepper
Cooking Fat
- 1 tbsp Canola oil
Dairy
- 8 slices American cheese slices
- 2 tbsp Unsalted butter (softened)
Bakery
- 4 Soft potato or brioche hamburger buns
Produce
- 4 large leaves Iceberg lettuce
- 1 large Tomato, sliced
- 0.5 small Red onion, thinly sliced
- 8 slices Dill pickle slices
How the timing fits together
Prep all vegetables and toast buns first. Once the skillet is heated, work in two batches, ensuring the meat is smashed thin and allowed to brown before flipping. Check temperatures immediately after flipping and before stacking cheese.
Step-by-step instructions
Prepare Toppings and Buns
Slice the tomato, red onion, and lettuce. Spread softened butter onto the cut sides of the buns and toast them in a dry skillet over medium heat until golden brown. Set aside.
Portion the Beef
Divide the chilled ground chuck into 8 equal portions, approximately 3 ounces each. Roll them gently into loose balls. Do not compact the meat too firmly, as this makes smashing difficult.
Heat the Skillet
Place your cast iron or stainless steel skillet over medium-high heat. Add the canola oil and swirl to coat the surface evenly. Ensure the skillet is hot but not smoking.
Smash the Patties
Place 2-4 beef balls into the skillet. Using a stiff metal spatula, firmly press down on each ball to create a flat patty about 1/4 inch thick. Season the exposed side generously with salt and pepper.
First Side Sear
Cook the patties for 3-4 minutes without moving them to ensure a deep, crispy brown crust forms on the bottom side.
Flip and Check Temperature
Flip the patties with the spatula, scraping the crusty bits off the skillet. Cook for another 3 minutes. Insert a digital thermometer into the side of each patty to verify it has reached 160 F.
Melt Cheese and Assemble
Place one slice of American cheese on each patty. Once melted, stack the patties on the toasted buns. Add the prepared lettuce, tomato, onion, and pickles to complete the assembly.
Food safety
Ground beef must be cooked to an internal temperature of 160 F. Use a digital thermometer inserted through the side of the patty to confirm this, as color is not a reliable indicator of safety.
Ingredient notes and variations
- Add caramelized onions cooked slowly in butter
- Substitute American cheese with mild cheddar
- Use brioche buns for a richer flavor
Culinary references
This is a home adaptation with independently written instructions, not a reproduction of a publisher's kitchen-tested recipe.
Make next week's dinners easier
Choose the days you need dinner, your household's preferences, and a budget target. mommy.me helps turn those choices into a meal plan and grocery list. Store prices and availability vary; review your cart before checkout.
Plan my week